As trees bud and migrating songbirds return, the warming days of spring invite us to start cultivating our gardens. Choosing native plants improves your chances of seeing local and migrating wildlife in your yard, as they provide valuable food and shelter. Whether you’re planting perennials, trees, shrubs, or a combination, this guidance can help them flourish!
Preparing & Assessing the Area
Once you determine your planting area, remove as many pre-existing plants as possible all the way down to the roots. Now, turn your attention to soil health, which is essential to overall garden health. Soils in residential areas are generally low in organic matter, but you can easily enhance them by adding shredded leaves or compost. It’s best to select plants adapted to the existing soil pH and texture, as it’s difficult to maintain changes to these conditions over time. Also observe how much sunlight reaches the area, as some plants are more adapted to shady conditions while others require full sunlight.
Finding Your Plants
Now that you have determined which types of plants you’ll need, it’s time to stock up! For native plants, sources closer to home are best. Check local nurseries, native plant sales, or neighbors with plants to share. Schlitz Audubon hosts two native plant sales annually and you can purchase native seeds from our Nature Store.
Intentional Planting
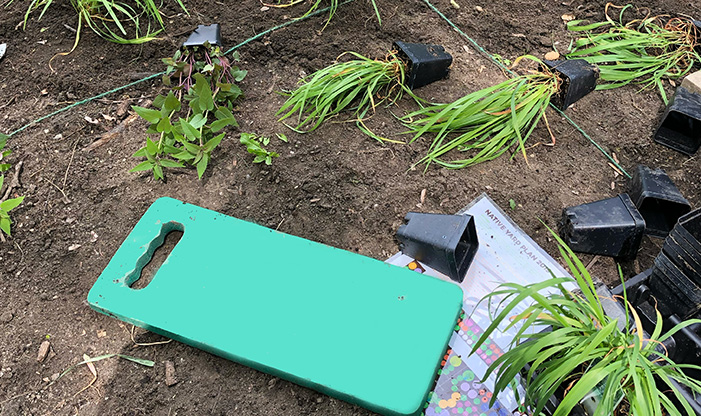
Thoughtful arrangement and spacing will help plants succeed in the long run. Start with the largest perennials, shrubs, or trees, as these require the most space. Use the container you will be transplanting from as a reference for the planting hole size: it should be two to three times wider and about the same depth. Avoid disturbing the soil at the bottom of the planting hole to prevent the plant from sinking as it’s watered. When you purchase shrubs and trees, the roots may be balled and covered in burlap. If this is the case, your hole should be three times wider than the root mass and a couple inches less deep. This ensures that the root flare (where the trunk widens into roots) will not be covered by soil.
Once you place the plant, fill in any gaps with soil dug from the hole and skip adding soil amendments like fertilizer. This will encourage roots to spread further into the ground faster. Now fill in open spaces with smaller plants using species-specific spacing and sunlight recommendations. Finally, water thoroughly, concentrating on the areas around each plant’s roots.
Mulching & Weeding
Mulching helps hold water in the soil, reduce weed growth, and protect garden edges from lawnmowers or trimmers. Cover the planting area with organic materials such as wood chips, chopped straw, or shredded leaves. Aim for an even layer that’s about 2 inches thick and leave space around each plant’s base.
As you admire your new garden, draw a map and label each plant’s placement. Their appearances can change dramatically through their life cycles, so this will prevent you from accidentally weeding them out in the future. As your garden grows, keep up with weeding to reduce competition for water and nutrients.
Watering
During the first full year after planting, monitor the soil moisture with a moisture meter or a simple finger test. It’s best to water deeply, making sure the entire root area is receiving water. After watering, dig a small hole in the garden bed to determine how deeply the water has permeated and take note for future watering sessions. When the garden is freshly planted, water frequently to ensure the soil stays moist but not waterlogged. As the plants establish, gradually reduce the frequency of water to encourage new roots to spread across the bed.
With careful planning and attention to soil conditions, plant selection, and maintenance, your garden can thrive for years to come.